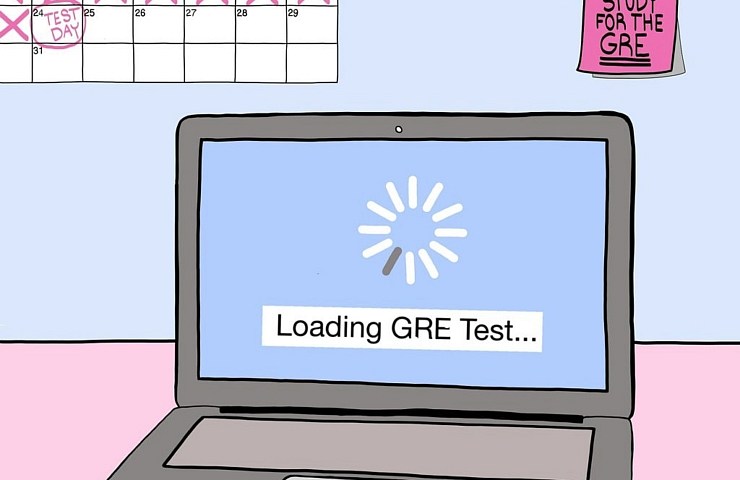
Early one morning in late August, I logged in to my laptop and became one of the thousands of graduate school applicants to take the Graduate Record Examination at home.
Better known as the GRE, the standardized test is among the countless institutions and practices revolutionized by the ongoing coronavirus pandemic.
Educational Testing Services (ETS), which owns and administers the GRE test, began offering the option to take the test at home or at designated testing centers in March.
While some colleges and universities have waived their GRE requirement for Fall 2021 admissions, others still require applicants to submit GRE scores with their materials.
The test–which evaluates analytical writing, quantitative reasoning and verbal reasoning skills–is one part of a school’s holistic applicant review process.
Whether taken at home or at a testing center, the nearly four-hour-long test can be daunting. Here are some time, and budget-friendly, tips that helped me study smarter and get ready for test day.
Before the test:
1) Start early. Seriously.
Once you register for a test date, create a study schedule and stick to it. Making a spreadsheet to keep track of how many hours you intend to study each day and how long you actually study can be a smart way to track your habits.
Calculate roughly how many hours per day you’ll need to study in order to earn your goal score. To help determine your goal score, research GRE scores for admitted students at each program you’re applying to and find out what the highest average scores are for each section across the programs.
2) Use available study materials.
You don’t need to spend hundreds of dollars on GRE preparatory courses and materials to earn your goal score on the test.
Materials are available from ETS for the general test and specific skills such as verbal reasoning, quantitative reasoning, math and vocabulary for under $25.
For students looking for a free study option, Gregmat offers walkthrough videos about the test format, verbal reasoning, quantitative reasoning, analytical writing and vocabulary. Students interested in accessing additional Gregmat materials can pay $5 a month for membership.
3) Take practice tests to evaluate your progress.
Some review materials may come with free practice tests. These mock exams are a great way to test what you know throughout your GRE preparation process.
I started off the GRE study process by taking one of the free practice tests you can opt-in for when you sign up for the GRE. The experience allowed me to gauge my skill level in each area and determine where I needed to focus the bulk of my study time.
Test day:
1) Don’t cram.
We’ve all crammed for an exam the night before, but that won’t work for the GRE. Scientists have found that having one or two intense study sessions doesn’t necessarily correlate to better recall or ensure that you have the material committed to memory.
Engage in some light review in the days leading up to the test, if you think that you need it, but don’t feel like you have to work until the last minute.
I took a couple of days off from studying before taking the test. It gave me the time to do some much-needed relaxation and put myself in the right frame of mind leading up to the test.
2) Relax and settle in.
On test day, make sure that you have everything that you need in order to take the test. If you’re taking the online test, check that you have downloaded all necessary browsers and clear the area around your workspace in accordance with GRE testing guidelines. If you’re taking the test at a testing center, allow sufficient transportation time.
Be sure to have your ID handy. Whether you’re taking the test online or at a testing center, you’ll be asked to present a valid passport, state ID card or driver’s license before you can begin your test.
Make sure that your phone is turned off (yes, completely off, not just on silent) and stowed in your bag. The last thing you want is to be that person whose phone starts beeping in the middle of the test.
3) Take your time and breathe.
Read each question completely and carefully. If you get stuck on a question, note it and come back to it at the end. If you have extra time once you’ve completed the questions, review your answers. There’s no need to rush. Don’t forget to breathe and remember that you’ve got this!
Graphic by: Cristobella Durrette


Recent Comments