Cover Photo © JinnaritT / Adobe Stock
Though Houston’s windy season is unpredictable, it’s perfect for kite flying.
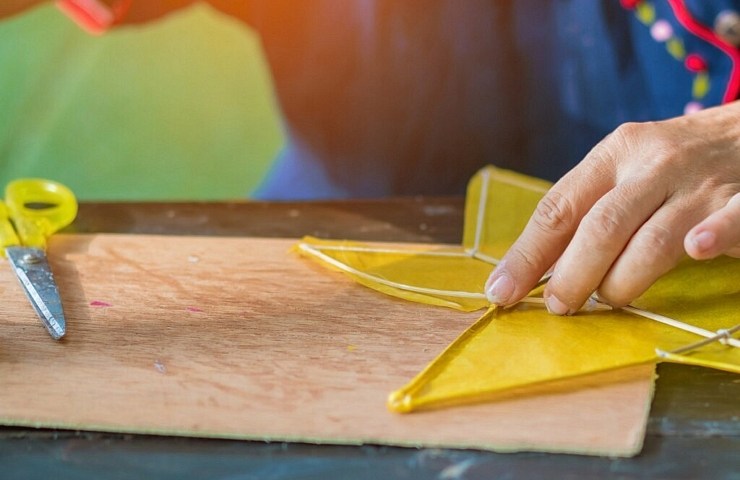
Kite flying is a fun way to reconnect with your inner child. Kite-making is something you can do alone, or it can be shared as a nice, nostalgic bonding experience with family and friends. It’s easy, cheap and takes up almost no time or real effort to create one. Here’s how.
Essentials
- Paper
- Tape
- String
- Bamboo Skewers
Helpful Tools
- Pair of Scissors
- Hole Puncher
Optional
- Streamers
- Tinsel
- Paint
- Other Craft Decor
Steps to Make a Kite
Take a piece of paper, a standard 8.5 x 11 sheet will work. Fold it in half. Take one side and fold it outward at an angle, then turn over the piece of paper and do the same for the other half.
At this point, you will see the kite shape begin to form as you push the two sides next to each other. Take a piece of tape and tape the two halves so they attach.
To anchor the top of the kite, generally a bamboo stick snapped in half, but any long, thin, cylindrical object will do. It is normally better for flying if it is weighted, but many viable options such as chopsticks, straws or even pencils can fulfill this purpose.
Forming this kite shape will leave you with a straight standing back. Roughly a third of the way down the paper, poke a hole into it so you can attach your string. It isn’t strictly necessary to have a hole puncher to do this, but it does ensure a cleaner circle to thread your string. Once you’ve pierced your hole, loop your string through and tie it off with a knot.
For optimal performance, it is helpful to keep your string attached to the spool it came from so you can steer your kite more effectively. In the absence of a spool of string, you can use yarn, hemp, elastic string, plastic chording or gift ribbon.
Though not necessary, it is often a fun tradition to add some type of decorative object to the pointed end of the kite. Streamers, tinsel, confetti, pieces of fabric, ribbon bundles or even a string of bows can work to emphasize the agility of the kite. This will make the flying experience more fun.
As for testing the kite out, this can be done anywhere outside. Perhaps a park or field with wide open space to roam and run about is preferable, but as long as you find somewhere outdoors with a bit of a breeze, the sky is—figuratively and literally—the limit.
You may already own some of these essentials, or at the very least, things you could easily substitute them for. Everything else you need can be found at Dollar Tree or other convenience and craft stores at very low prices.
In total, this activity will likely cost less than $5. It should take no more than five minutes.


Recent Comments