
Graphic by: Len Duenas
Looking for some wicked ideas on how to carve or decorate your pumpkin? Halloween is around the corner and everyone wants their houses to look spooky and decorated. Here are some pumpkin ideas that I recommend you give a try.
Welcome Pumpkins
This project is very easy and fast to do! The materials needed are:
- pumpkin
- your favorite seasonal greeting
- sharpie
- paintbrush
- paint (any color of your choice but you can try brown and white)
All you have to do is get a pumpkin and write out your favorite seasonal greeting on it, then display the pumpkin on your porch to greet your guests.
You can do this with however many pumpkins you want to do. For example, you can get three pumpkins and write out the phrase, “All are welcome.”
It is up to you how festive you want the pumpkins to look. You can paint it all white and make the font coloring brown since that gives more of a fall theme. But you do not have to be traditional. Go crazy with it.
Floral Band Pumpkins
This project is so fun to do. The materials needed are:
- Pumpkin
- Floral stencils
- Craft paint (any color you want)
- Painters tape
Use painter’s tape to outline several vertical stripes or one thick horizontal stripe on your pumpkin. Then, use floral stencils and craft paint to fill in those spots with bold colors.
Bat Tree Pumpkin
For this spooky project, you are going to need:
- Golden permanent marker
- Pencil
- White pumpkin
- Bat stickers
The first thing to do is to trace the big tree with branches. Afterward, you are going to color the tree with the golden Sharpie. Then for the final touches add the bat stickers and you’re done!
Splatter Paint Pumpkins
For a quick and festive decoration, you are going to need:
- White pumpkin
- Newspaper
- Gold paint (you can try with other colors but gold would look better)
The first thing you will do is paint the stem to give it an extra sparkling effect. Then you will get a paintbrush, dip it in the paint and splatter it all over the pumpkin.
DIY Cookie Monster Pumpkin
Everyone loves the Cookie Monster! For this project, you will need the following materials:
- A large or medium-sized pumpkin
- Blue and black paint
- Paintbrush
- A knife or pumpkin carving tools
- Pencil
- Two styrofoam balls
- Hot glue gun
- Chocolate chip cookies (optional)
- newspaper or tablecloth
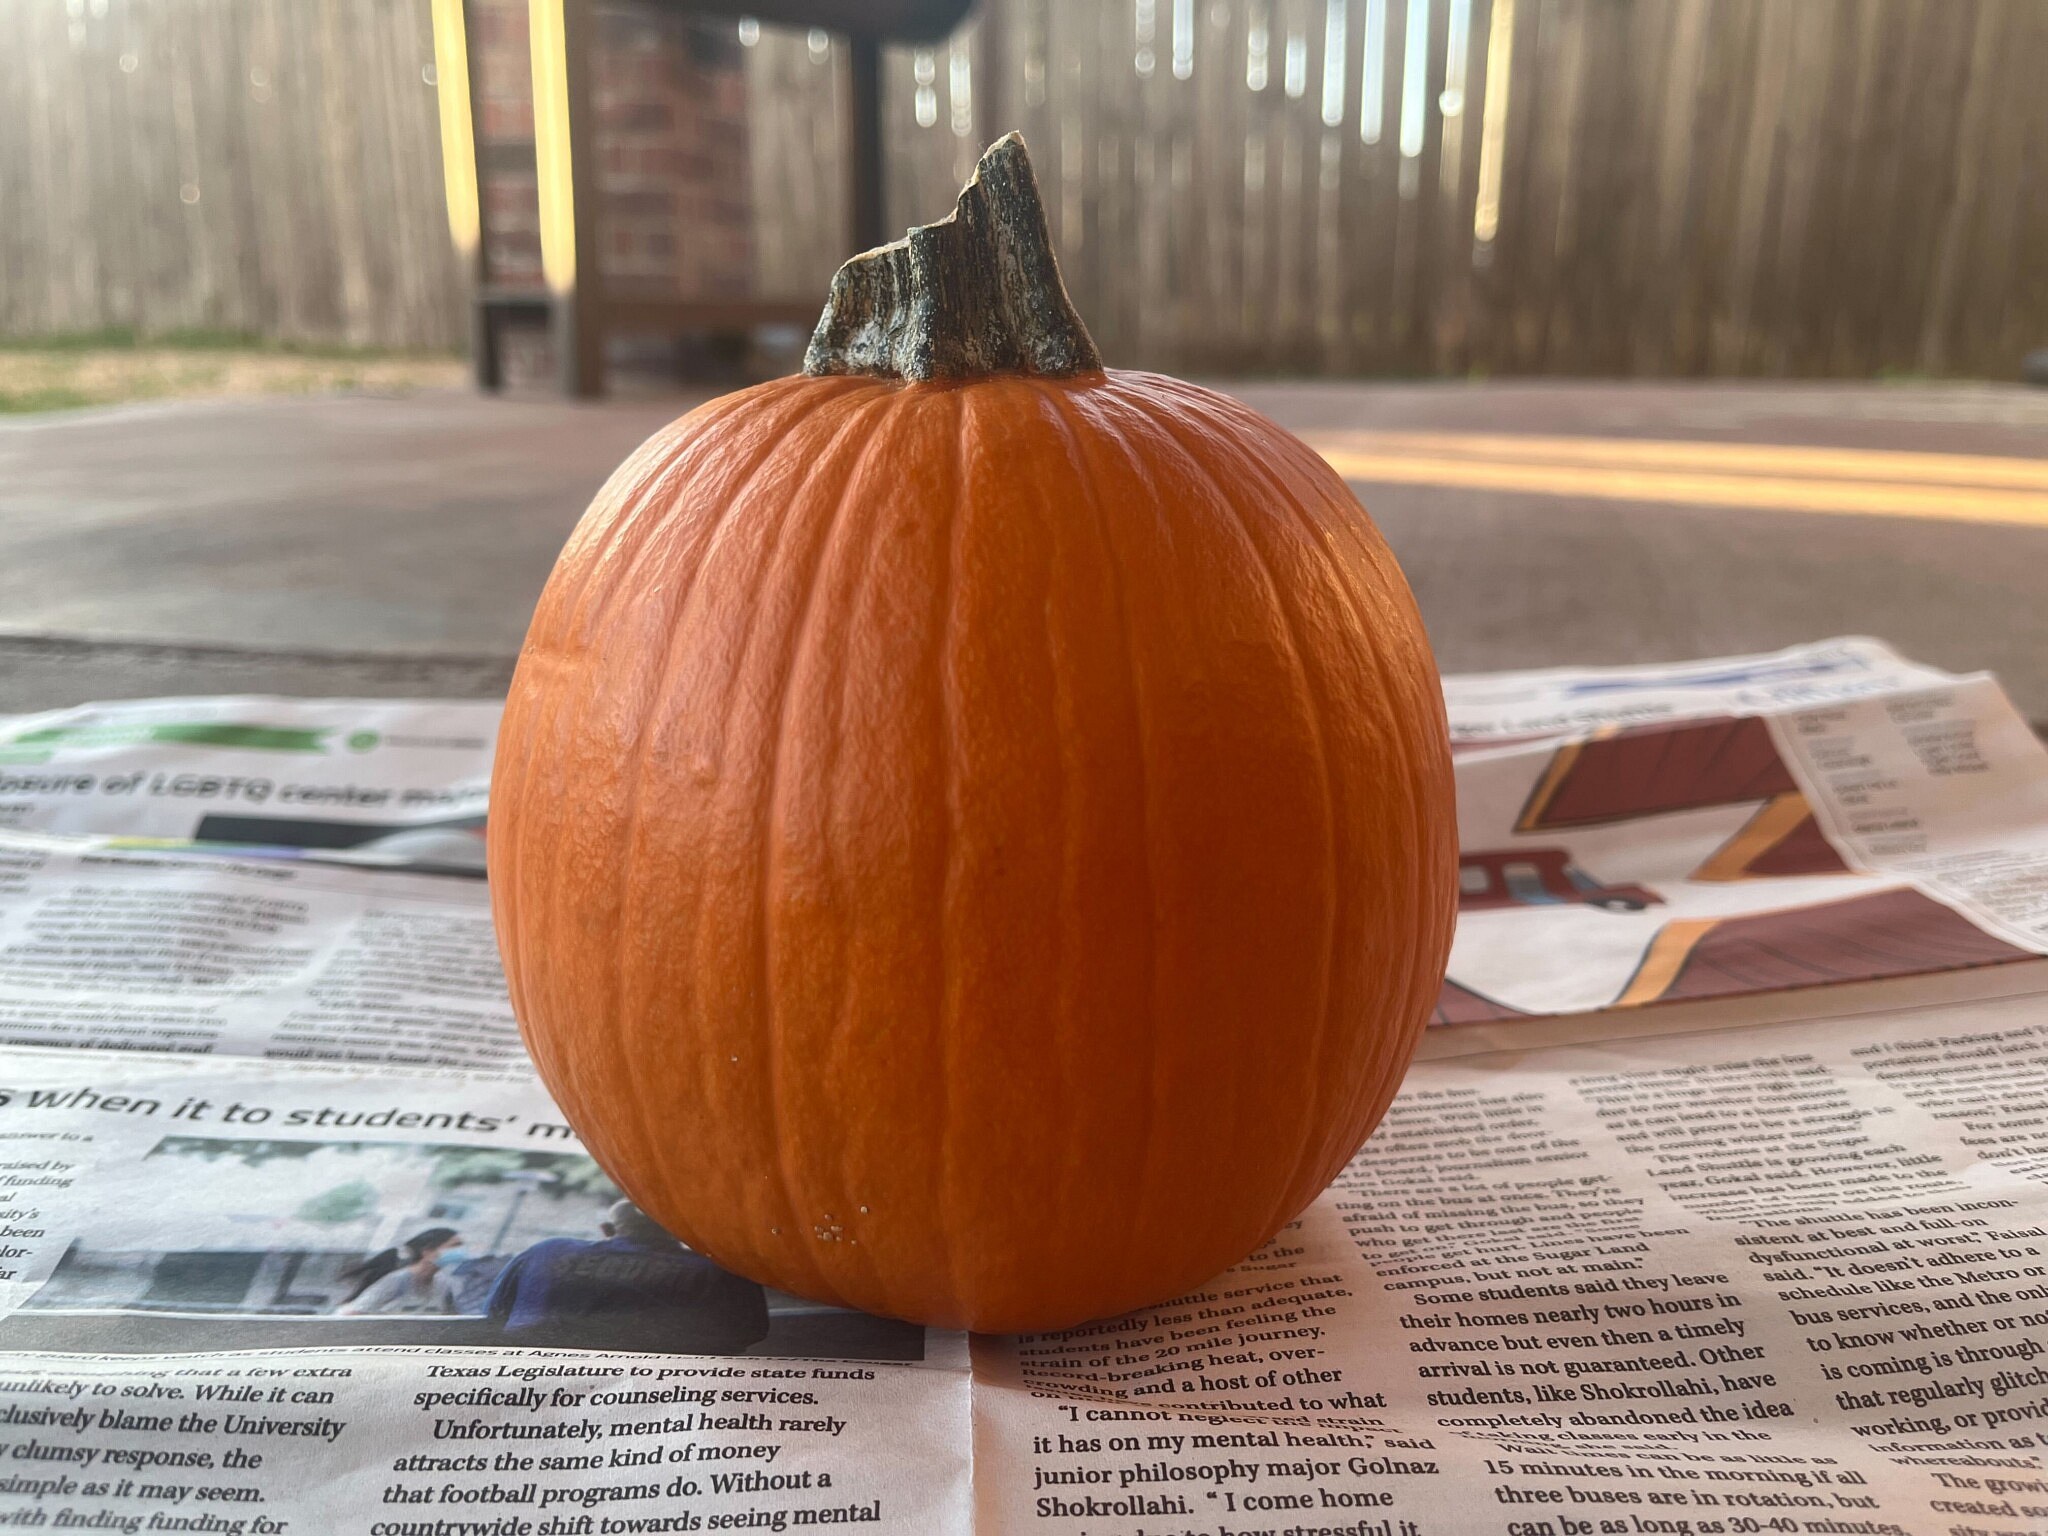
The first thing you want to do is to get a pumpkin and make sure it’s a pretty one. Get some newspaper or tablecloth and set the pumpkin on top.
It’s up to you if you want to do this on a table or preferably the ground. The first thing to do is to trace a medium-sized circle at the top and the cookie monster smile to make the carving process easier.
The next thing you will do is carve the pumpkin at the top with a knife or whichever pumpkin carving tools you have (please be careful). Take all the pumpkin filling out. then you are going to carve the Cookie Monster smile.
Next up, you are going to get a paintbrush and paint the whole thing blue. Be sure to coat it all and let it air dry for about thirty minutes to an hour to make sure it is dry.
Next, you are going to mark where you are going to hot glue the eyes. Afterward, take the two styrofoam balls and paint black dots on them. Place them on the pumpkin. Press on them for a couple of seconds so the balls can stay up.
The last step is optional, but add your cookies to the mouth and you are done! Congrats you just made your own cookie monster!
Skull Pumpkin
For this spooky project you will need:
- Pumpkin
- Carving material or knife
- LED candle light
- Pencil
- Paint (optional)
The best thing to do is look up any skull you like and trace it on the pumpkin with the pencil. If you want to paint it, go for it! Make sure it dries.
Afterward, carve an opening at the top, then carve the skull pumpkin. Add the candle or LED light when it’s nighttime.
Name Pumpkin
This project is very cool! You can just carve your name on a pumpkin. The following materials needed are:
- Pumpkin (medium or large size)
- Pencil
- Paint (optional)
- Carving materials or knife
The first thing to do is to trace your name out how you want. Then you are going to carve the circle at the top and take out the pumpkin filling!
Then start carving away! Afterward, you can decorate the pumpkin with paint and you can even add some other decorations.
THE Jack-O’-Lantern
We all love the classic jack-o’-lantern. For this project, you can do this with however many pumpkins you want! All you need is:
- Pumpkin
- Carving tool or knife
- Jack-o’-lantern design
- Pencil
- Paint (optional)
- LED or candlelight
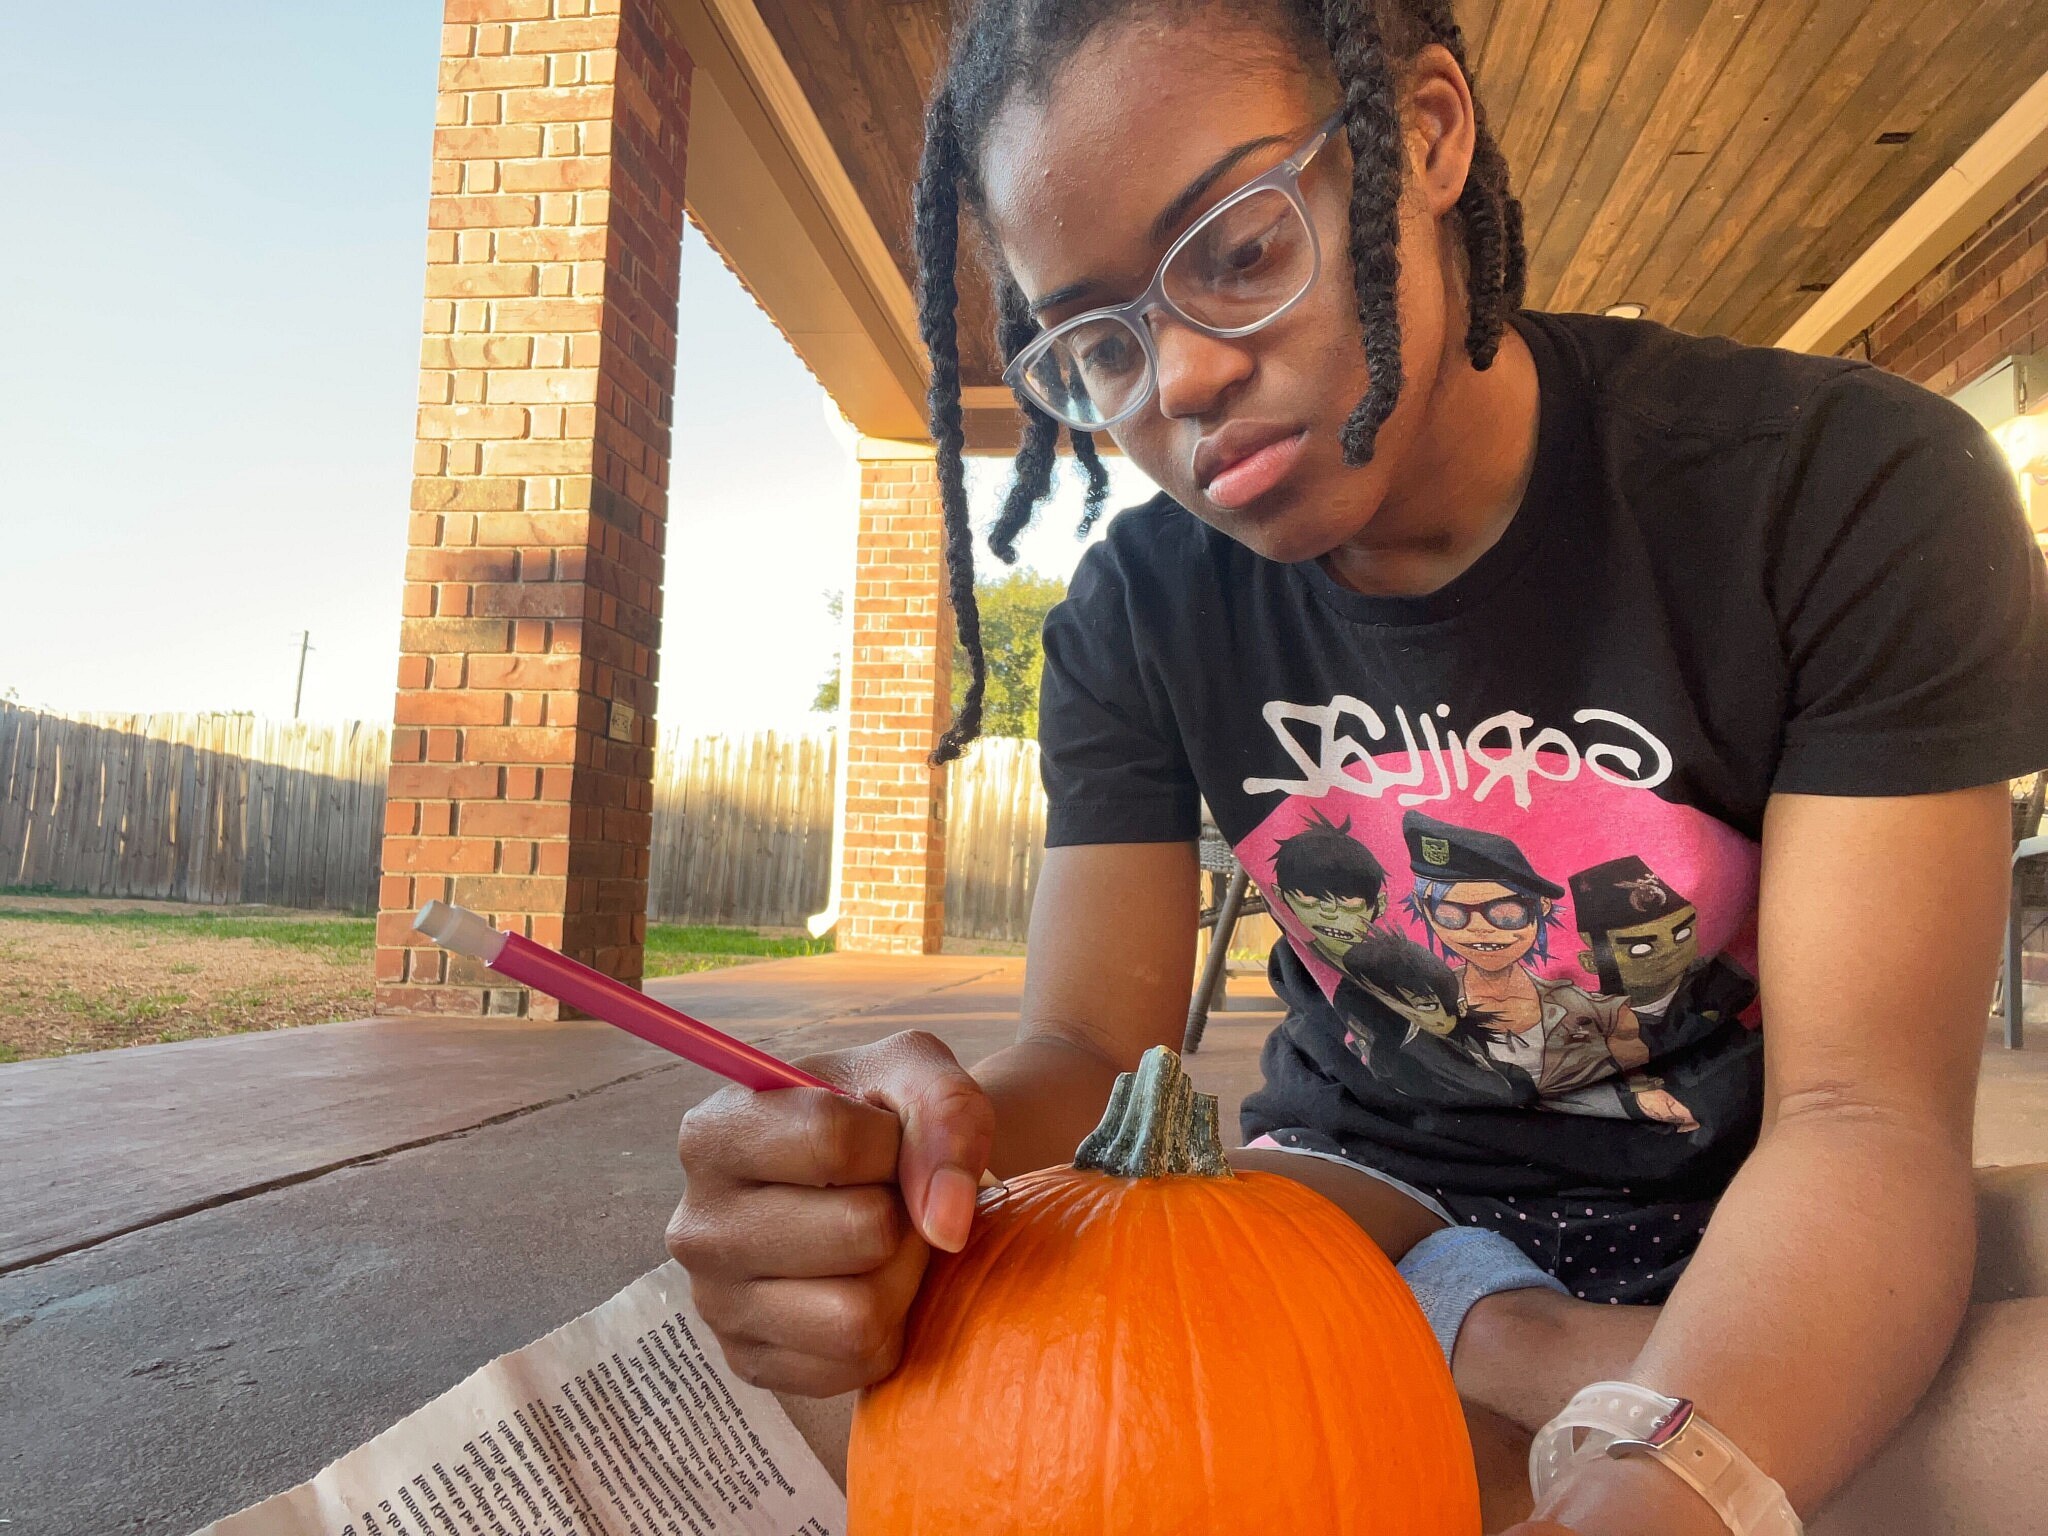
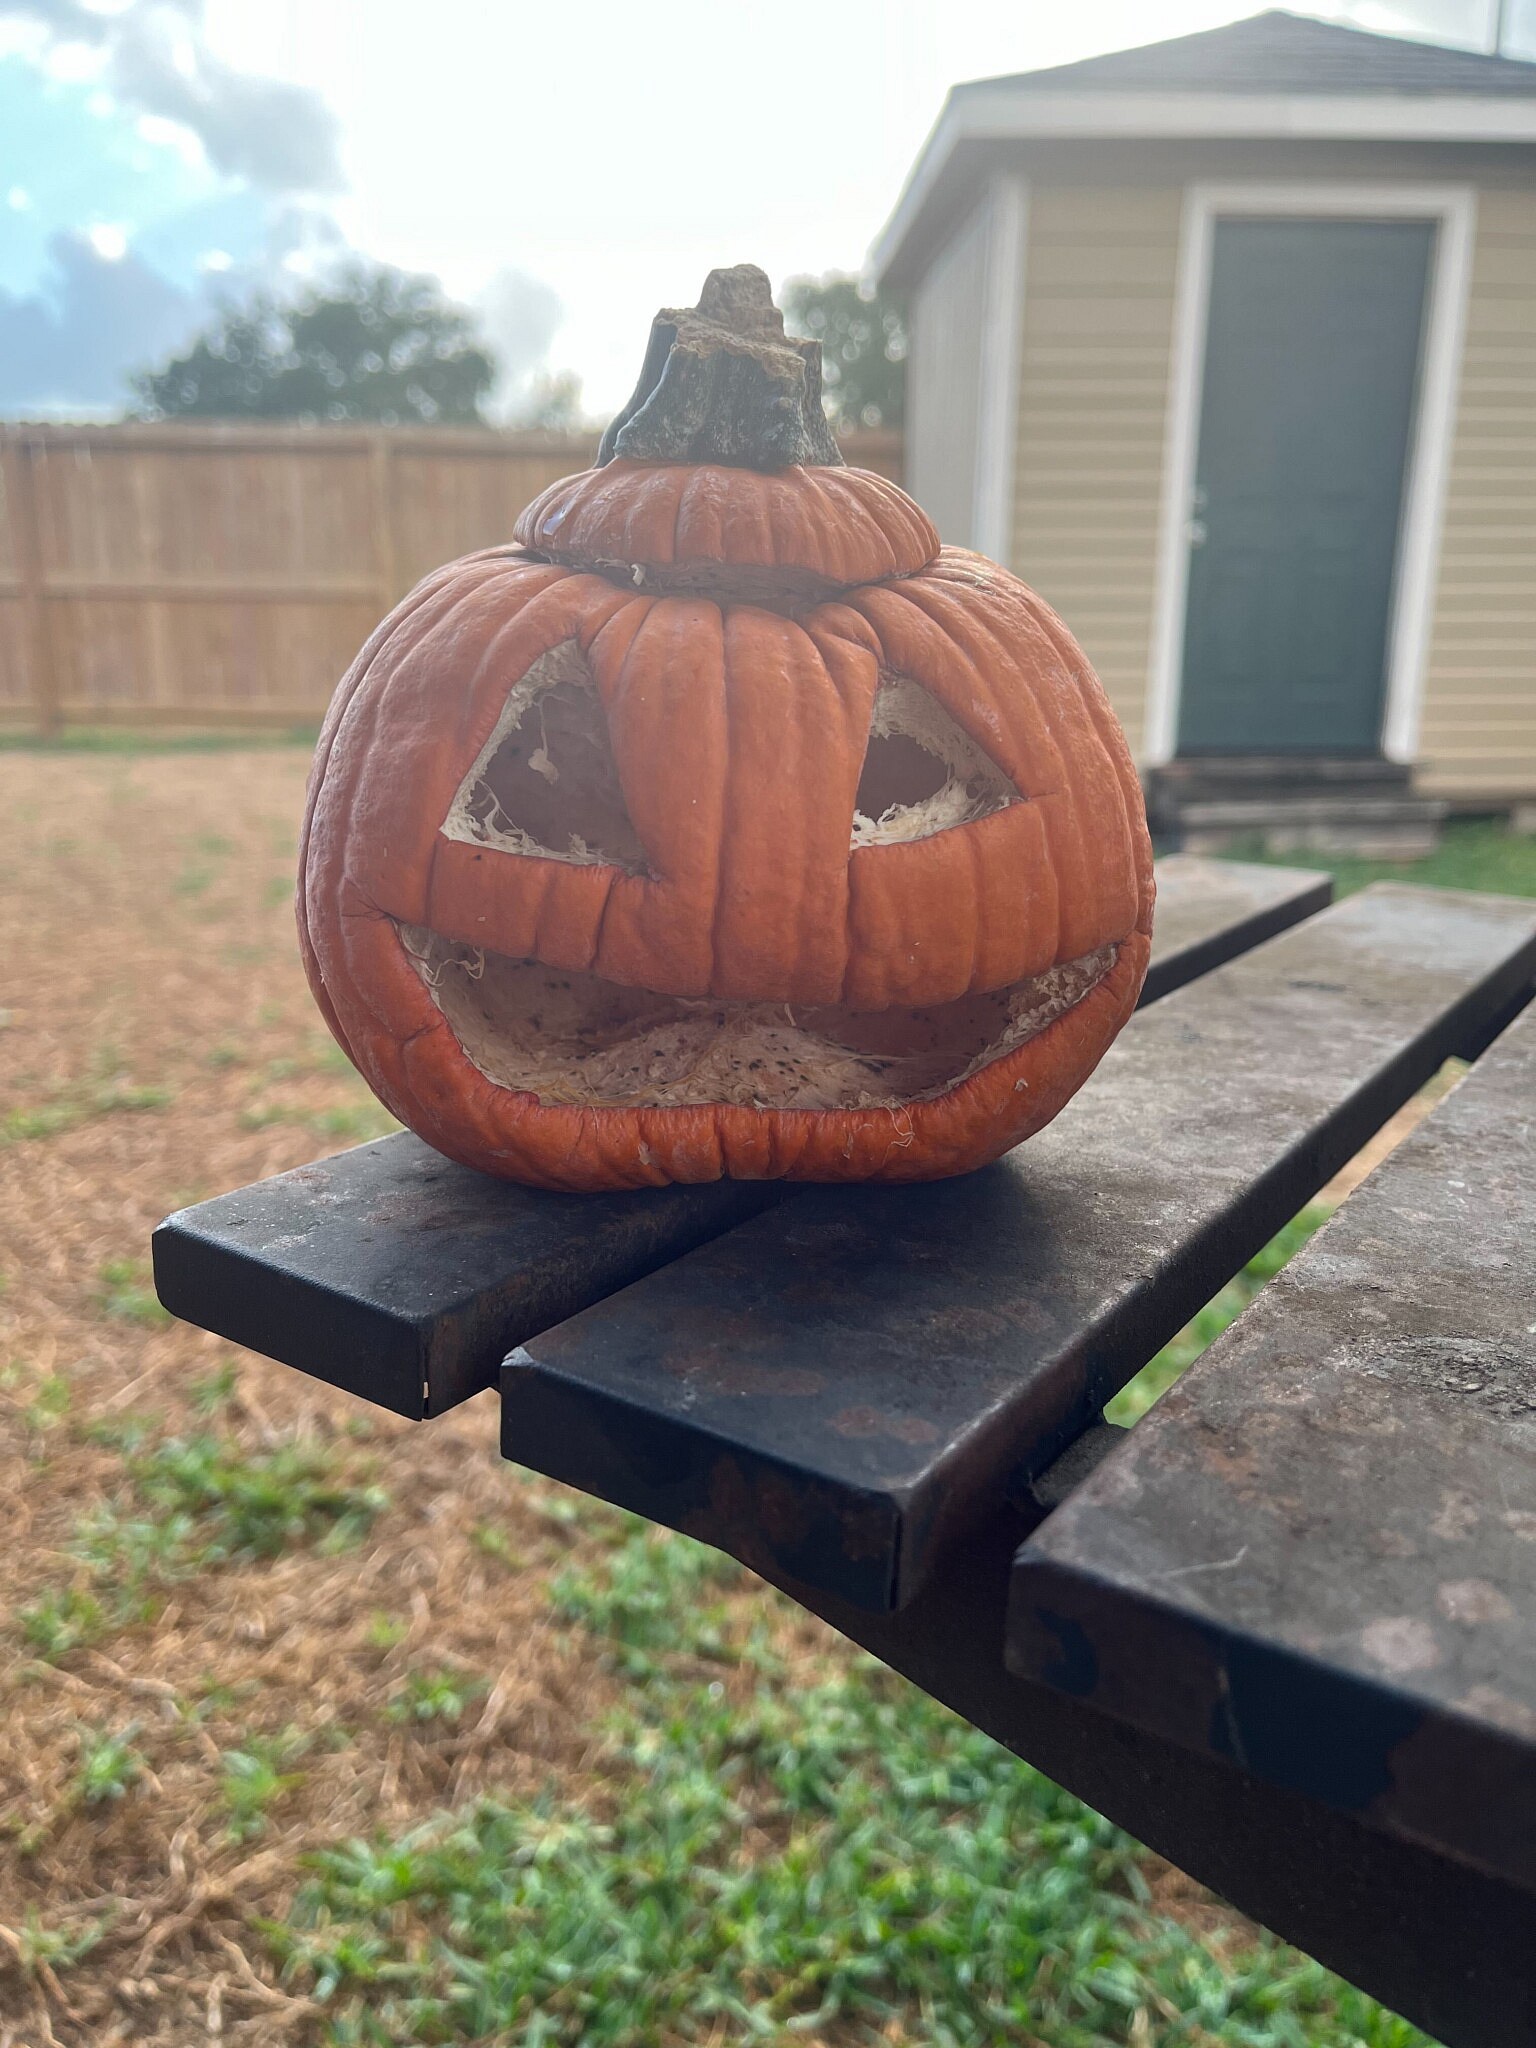
All you have to do is pick a jack-o’-lantern design and trace it on the pumpkin. Then you will carve it. Painting is optional. But you can check my photos out as I did this project and it was so much fun doing it!
I hope you guys like the ideas. Give them a try and have a festively spooky Halloween!


Recent Comments